Not sure how to configure and use the File History feature in Windows 10? Today we will tell you about its work and give examples of data recovery and previous versions of files.

Contents
- How to enable file history?
- How to set up the "File History" function.
- How to restore previous versions and data using the file history function.
- Restoring files for which the "File history" function has not been activated.
“File History” is an advanced security feature that allows you to recover lost data or previous versions of files.
“File History” is a kind of data backup designed to protect valuable information, individual folders, and directories from accidental deletion, modification or corruption of these files. For this feature to work, the user will need to acquire a third party external drive, which will act as the capacity to create backup files. The external drive may be a pluggable hard drive or a simple flash drive with sufficient capacity.
How to enable file history?
To enable file history in Windows 10, you must first connect a removable drive to which data will be backed up. In our case the removable drive will be a 14 Gb USB stick. If the user does not have a drive of this size, you can use any other removable drive of a smaller size.
Once the flash drive is connected, you should follow these steps:
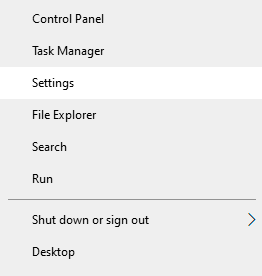
Step 1: Right-click on “Start” and select “Settings”
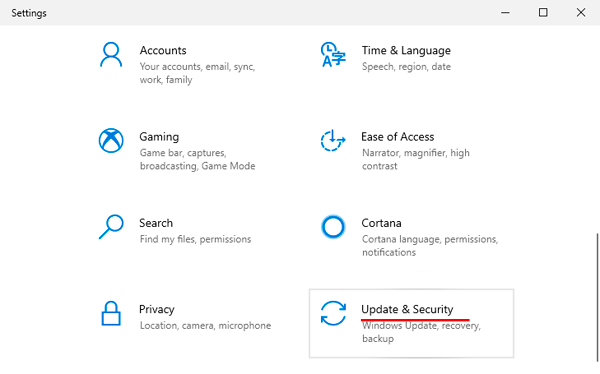
Step 2: In the window that opens, select “Update and security”
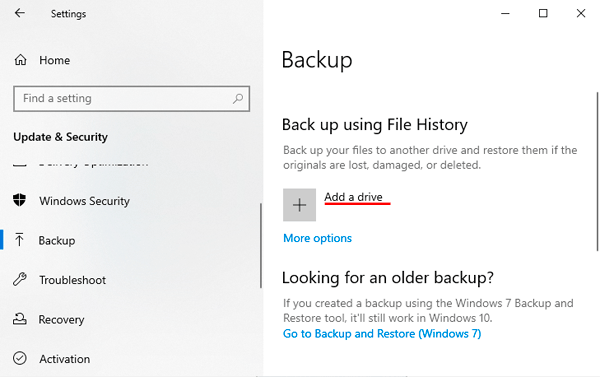
Step 3: Now you should go to the “Backup” section on the left side of the window, and click on the “Add drive” button.
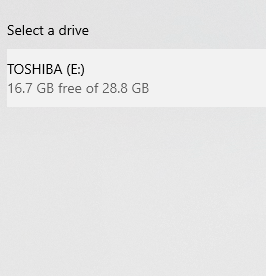
Step 4: In the disk selection menu, choose the disk you need. In our case the disk will be a removable flash drive “Removable disk E”
How to set up the “File History” function.
The “File History” setting allows you to fine-tune the storage and backup settings for the specified folders.
To access the settings, click on the “More Options” link in the “Backup” item.
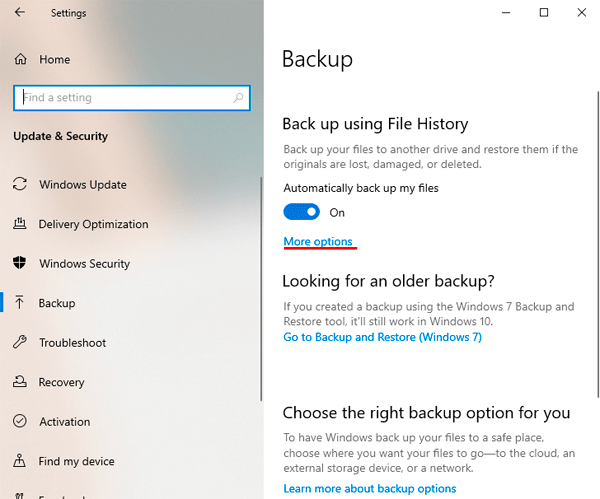
In the menu that opens, you can specify how often backups will be created, select the necessary time to store backup data, and add or delete folders to store backup data.
For example, we will add a new folder for backups. To do this, click the “Add folder” button. In the window that opens, select the necessary folder and click the “Choose this folder” button.
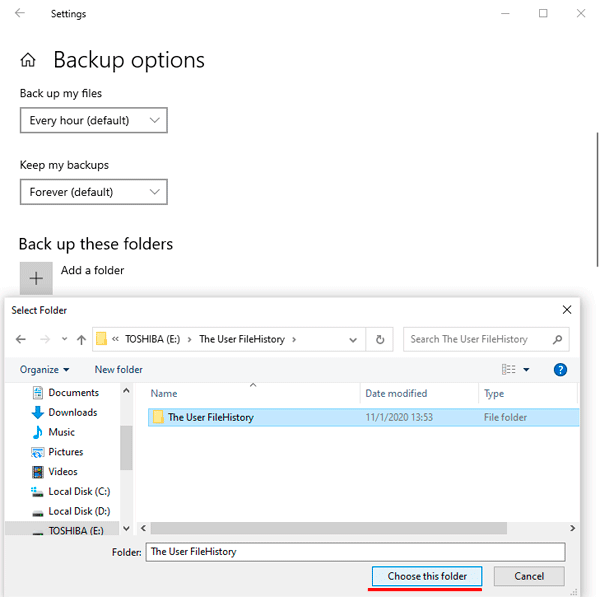
The folder was successfully added. Now all you have to do is to put files into it that require a backup.
For example, we will place an image there, and then in the previous menu, we will force a data backup using the “Back up now” button.
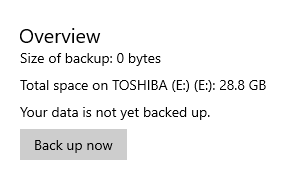
For clarity of the “File History” function, we will make some changes to the image, after which we will back up several more times.
In the lower part of the “Backup Settings” window, you will find “Exclude these folders” (removing specific folders from a group of folders for which file history is enabled), “Copy to another drive” (using this function, you can change the drive to which you are backing up), “Advanced Options” (general and advanced settings for specific drives to use file history) and “Data recovery”. The last item is a GUI for recovering previous versions of data, which will be described below.
How to restore previous versions and data using the file history function.
Let’s simulate a situation when a folder for which a file history was created was accidentally irrevocably deleted using the “Shift+Delete” key combination.
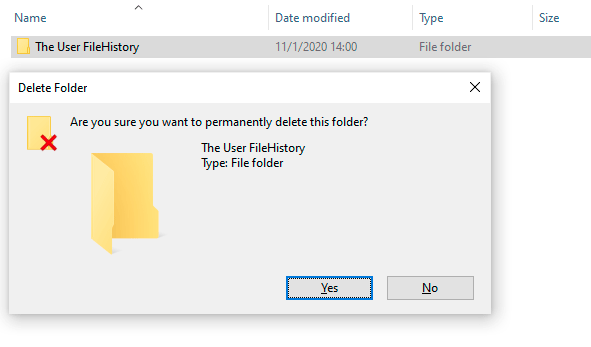
To restore the folder and the data stored in it, we will use the file history, which was previously recorded on a flash drive.
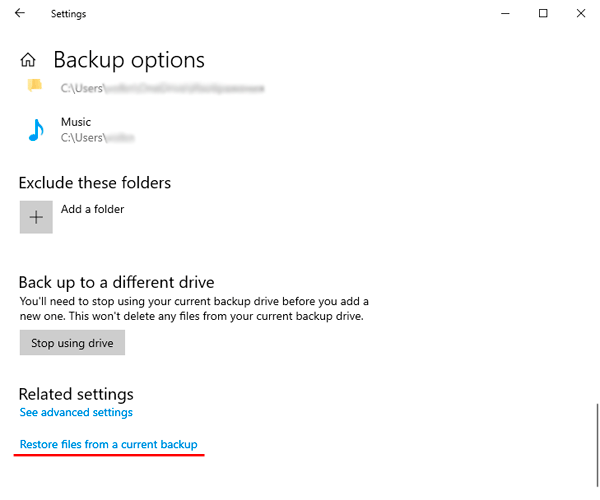
Step 1: Go to “Settings”, “Update and Security”, “Archiving Service”, “More options”, lower the window, and left-click on the link “Restore files from the current backup”
Step 2: In the opened graphic window, you can find all the folders for which the file history function was enabled. Look for the necessary directory and open it as a usual folder in Explorer.
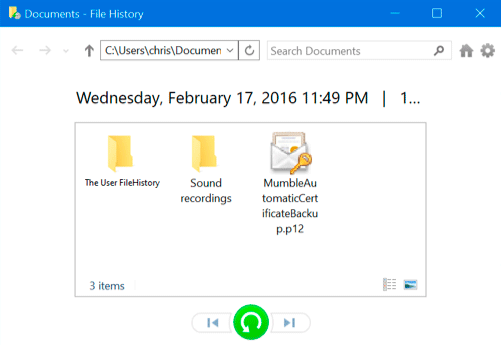
Step 3: Open the necessary folder and find the required files there. In our case, such a file is an image that has two saved versions, while the latter is conventionally spoiled. Click on the image and view it in a graphic window.
Step 4: In this case, we see the last (spoiled) version of the image. To return the previous version, just click the left arrow at the bottom of the window or press Ctrl and press the arrow to the left on your keyboard. In our case, the first version of the image is conventionally undamaged, so you can restore it by pressing the central green button.
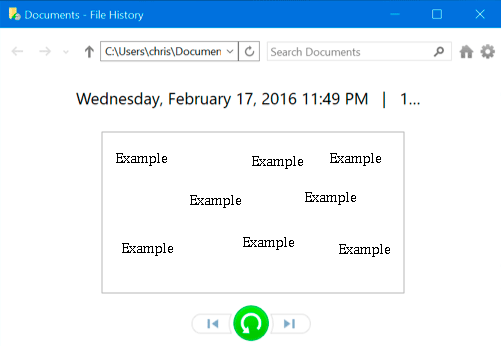
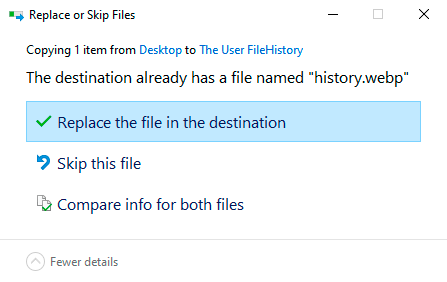
If the folder contains an old version of the image, the utility will offer to replace, skip, or compare the file with the one being recovered after clicking the green button.
Select “Replace the file in the destination” and restore the required version of the image. If the folder was simply deleted, data recovery will immediately occur after you click the green button.
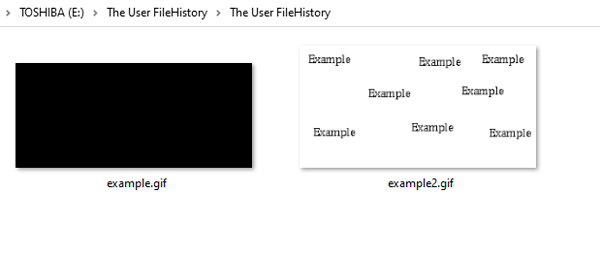
In addition to this method, the file history can be searched on your flash drive by going to: Flash drive name:\FileHistory\Username\Computer\Data\Disk\Users\Username\
In our case, the path is E:\FileHistory\User\MACHINE-IJ80COF\Data\C\Users\User\History\History. To restore the correct version, just browse the data and return it by copying.
Another convenient function of file history is to restore previous versions directly from the context menu. Just find the necessary file, which is saved in the file history, right-click on it and select “Restore previous version”
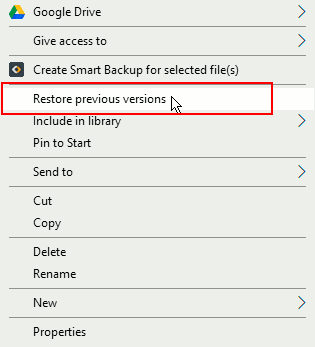
In the menu that opens, you can view the selected version by clicking the “Open” button and restore the selected version of the file by clicking the “Restore” button.
Restoring files for which the “File history” function has not been activated.
The “File History” function allows you always to have backups of the files themselves and their previous versions, so restoring them is quite an easy task. Unfortunately, if files were deleted without using the “File History” function, their recovery requires special software.
We recommend using RS Partition Recovery utility for fast data recovery.
This program allows you to restore all types of data after:
- Accidental deletion
- Formatting
- Damage caused by viruses
- Damages after changing the file system and logical structure of disks
RS Partition Recovery will help you recover lost data from USB flash drives, HDD and SSD hard drives, memory cards of any type and size, as well as other storage devices.
The utility has an intuitive interface for ease of use, which is easy to understand, even a novice PC user.
The data recovery utility can also perform two types of sanitization: fast – to search for recently deleted files and full analysis – to find all possible information for recovery.
If you encounter deleting files, we recommend you visit the official page of RS Partition Recovery program, where you can see the full list of its features and features.


