The CHKDSK command is intended to check and eliminate logical errors on the hard disk. Below we will consider the features of its working and other functions of the utility.

Contents
- Checking the hard drive in running Windows
- Checking the drive using command prompt
- Commands for working with CHKDSK at the command prompt
- Restoring information from a problem hard drive
The CHKDSK command is a built-in utility whose main function is to check and fix hard drive error. Besides, with CHKDSK you can quickly find and repair damaged sectors, as well as errors in the drive disk system.
Thus, CHKDSK is an important utility that allows you to increase the lifetime of your hard drive, as well as increase its speed, so absolutely every Windows user should know how to use and test their drives with built-in tools. Below are a few ways to test disks from a running operating system and the command prompt.
Checking the hard drive in running Windows
To check the logical partitions on your hard drive using CHKDSK in running Windows, you need:
Step 1: Open the “This PC” directory, right-click on the necessary logical partition, and select “Properties”.
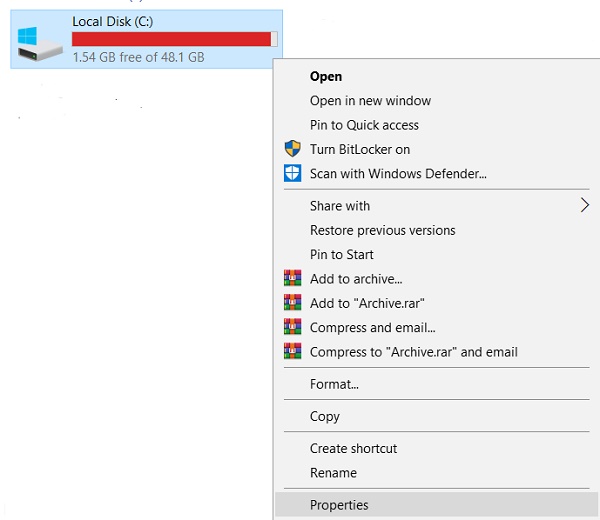
Step 2: In the window that opens, go to the “Tools” tab and select the “Check” button.

Step 3: Confirm the drive check and click on the “Show details” button after completing the check.
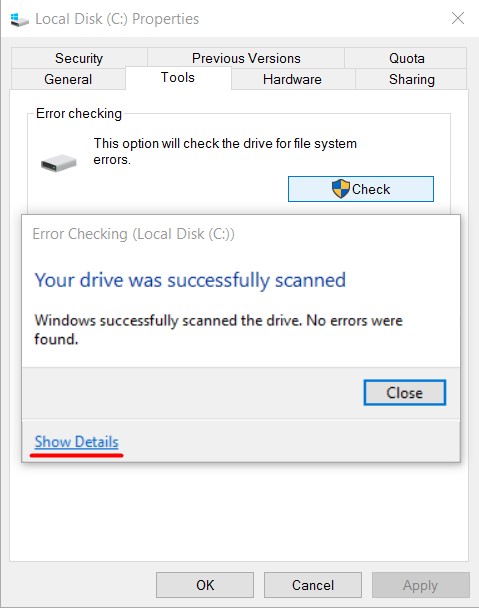
Step 4: All information and drive test results will be available in the “Information” column.
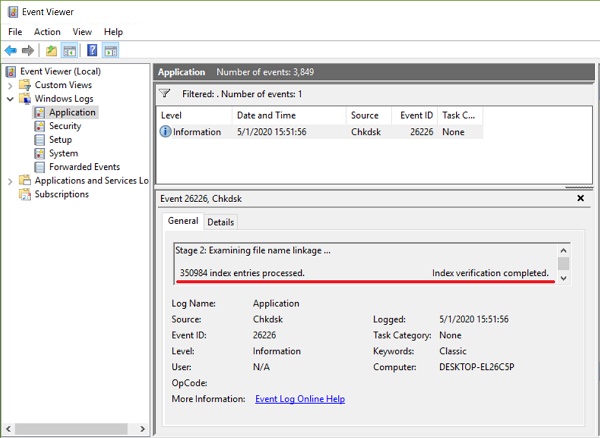
Checking the drive using command prompt
In some situations, the user may need to run the CHKDSK utility from the command prompt. This feature will allow checking and recovering the drive in case the system does not start, and the Windows GUI remains unavailable.
To run the command prompt from the OS recovery environment, it is necessary:
Step 1: Use your Windows installation disk or bootable flash drive and click on “System Restore” after the language selection window. Go to the recovery environment and click on “Troubleshooting”.
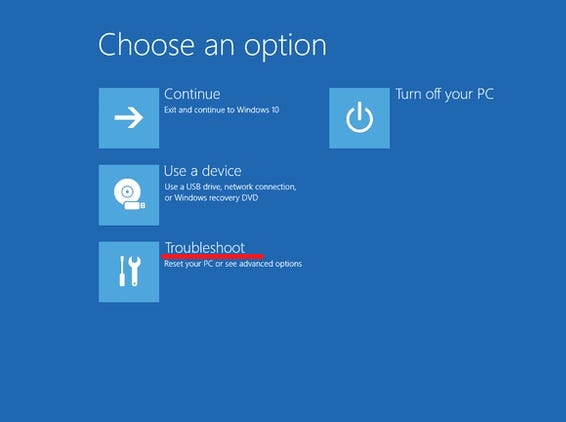
Step 2: In the next window, you should select “Advanced options”, after which you can find the “Command Prompt” button.

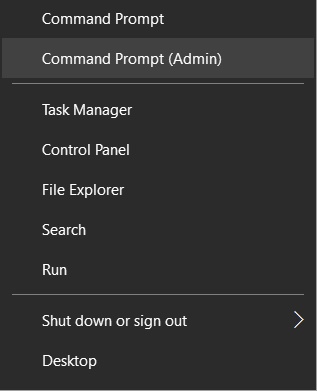
It is also always possible to run the disk check utility via command prompt from a running system. Important: To use the full potential of CHKDSK, you should run the command line with administrator rights only. Otherwise, the CHKDSK utility will perform the check without troubleshooting the detected problems.
You can launch the command prompt or Windows PowerShell as administrator by right-clicking on the “Start” button and selecting “Command Prompt (admin)”.
Commands for working with CHKDSK at the command prompt
From the command line, you can quickly check the hard drive (a similar check described at the beginning) without rebooting the system. To do this, enter the command “CHKDSK” and confirm the action with the Enter button.
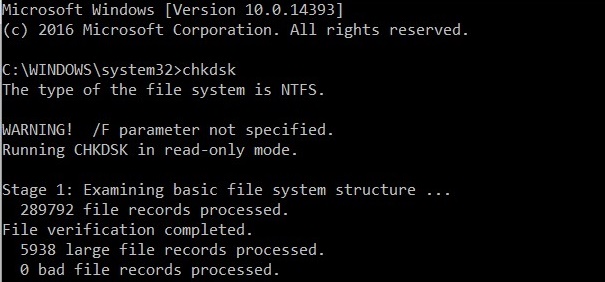
To check the disk and fix logical errors on it you should use the command «chkdsk C: /F /R», where C is the name of the required disk.
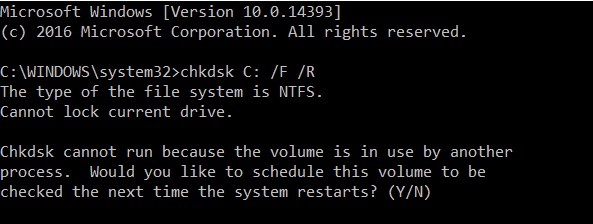
Press the «Y» key to confirm the drive check after rebooting.
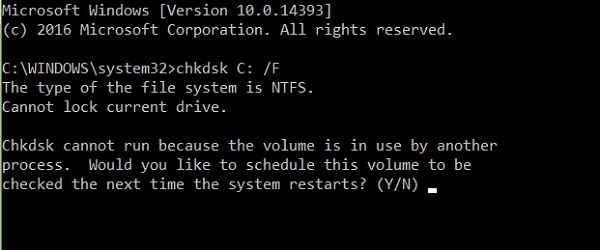
In addition to full analysis, and if possible correction of damaged sectors the utility can only check and solve errors the file system only. For this purpose, you should use the command “chkdsk C: /F” and confirm the action “Y”.
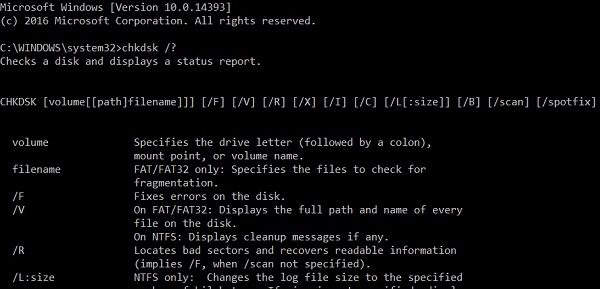
The full list and description of the utility features can be found by entering the command “chkdsk /?”
It should be noted that disk problems can be caused not only by software errors, but also by physical wear and tear, mechanical surface damage and other factors that cannot be corrected with the built-in CHKDSK utility.
To get a complete picture of the state of your device, you can use Victoria’s free disk checking software. Learn how to use, fix and diagnose HDDs with Victoria in the article: “Using Victoria software to test and fix your hard drive”.
Restoring information from a problem hard drive
Hard drive problems are always a big threat to important information and documents stored on your computer. To be ready for any circumstances, we recommend that you always have at hand a special program for effective recovery of RS Partition Recovery files. This utility will help you recover all lost information even in the most difficult cases.
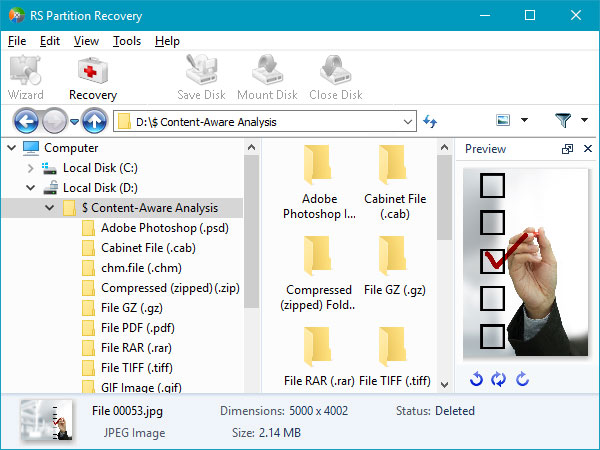
With RS Partition Recovery you can restore:
- Randomly deleted files and documents.
- Formatted photos and media files..
- Data deleted by viruses.
- Information that was lost by changing the file system и disk structure.

