Using RS Photo Recovery, you can recover deleted digital images from any information carrier with maximum speed and simplicity. If you accidentally deleted photos that you need, you can recover them by following just a few steps.
Screenshots of the RS Photo Recovery
RS Photo Recovery
Even before you deal with the program directly, RS File Recovery screenshots will help you to assess how easy and convenient it is to work with the software. Go ahead, download and install RS File Recovery to begin recovering lost photos. Note that the software cannot be installed on a drive or partition that contained the information being recovered.
Download RegistrationTo avoid damaging data that you need, it is recommended to install the program to a separate hard drive or change the carrier (for example, the flash card, CD or DVD).
After installing the software, in the main program window choose the drive from which you want to recover files. If the program has to scan a large volume of information, this might take some time.
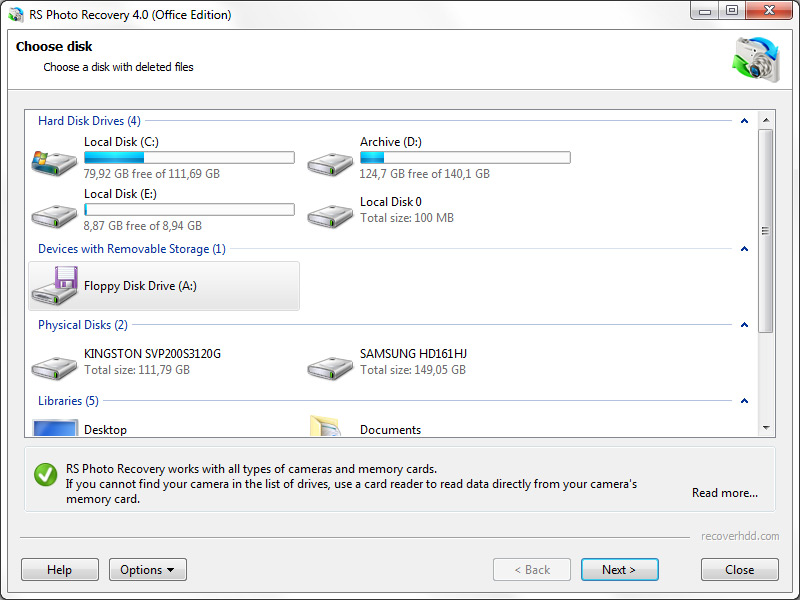
Once the specified drives are finished being scanned, all of the images found on them will be displayed in a separate window.
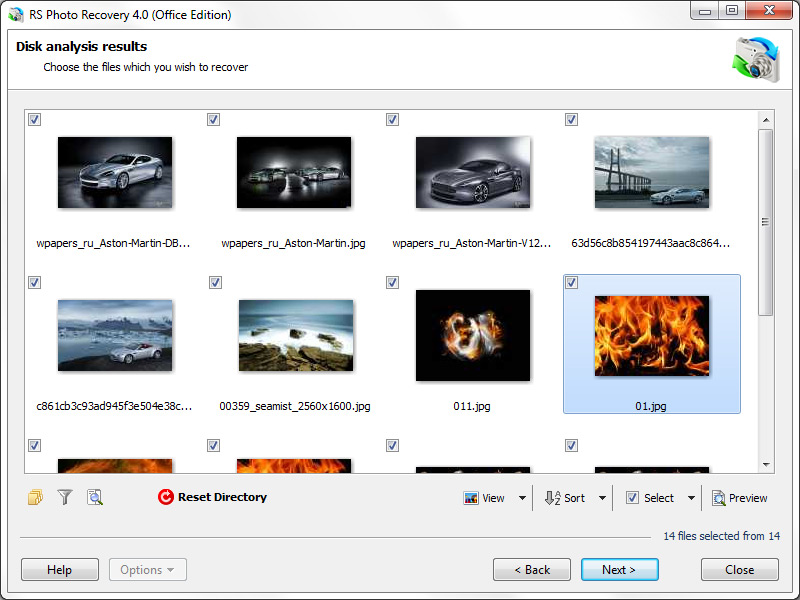
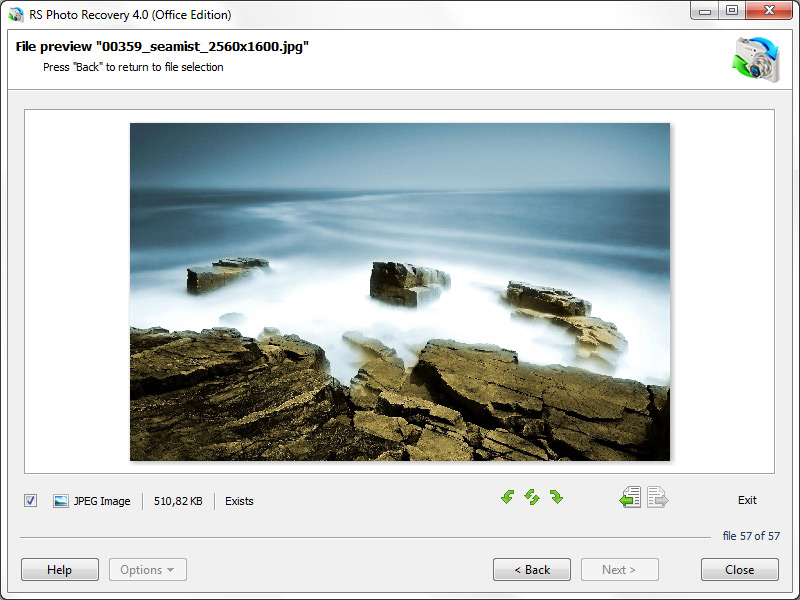
Every file will be available for preview, and after buying the program you can save all of the graphic files you need. Note that if you carried out the drive scan first and bought the program afterward, you won’t have to scan the drive again. You will just have to enter the registration key when saving the recovered files that you need.
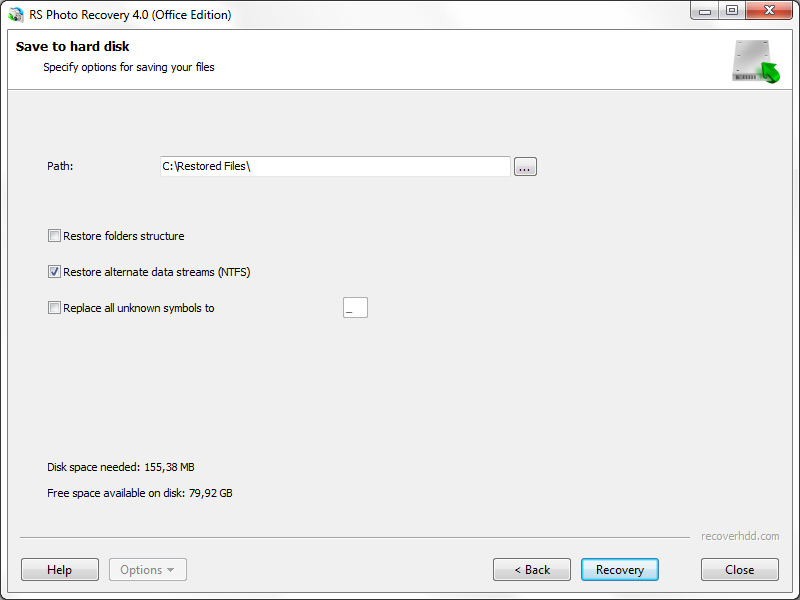
In the next window, specify where you would like to save the restored files. It’s best to save data on a different drive than the one from which the recovery is being done. If you want to save the initial structure of catalogues, use the corresponding function.
